How to Grow Mushrooms at Home: The Complete Beginner Guide
Growing mushrooms at home is one of those hobbies that looks complicated from the outside and turns out to be surprisingly manageable once you understand what is actually going on.
Fungi are not plants. They do not need soil or sunlight. What they need is a food source, the right moisture, some fresh air, and a little patience. Get those four things right and mushrooms more or less grow themselves.
This guide covers the full process from choosing your first species to harvesting your first flush. Nothing here requires specialist equipment or a background in science. If you can follow instructions and keep things clean, you can grow mushrooms.
If you are coming from the supplement side of this site, growing your own mushrooms is the most direct way to get the compounds the research describes without relying on the supplement industry at all. No label to misread. No proprietary blend to decode. You eat the actual mushroom at peak freshness.
Start here: grow kit or from scratch?
Fully colonized block ready to fruit. Skip the contamination-prone steps. First mushrooms in days, not weeks.
Downside: higher cost per harvest, limited control, less learning.
You choose spawn, prepare substrate, inoculate, colonize, and fruit yourself. Much cheaper per harvest. You learn the full process.
Downside: more steps, longer timeline, higher contamination risk initially.
The recommendation: try one grow kit first to see a full cycle with minimal risk. Then move to growing from scratch. This guide covers both.
The grow kit method
A good oyster mushroom grow kit contains a fully colonized block of substrate. The mycelium has done the hard work. You are just creating the right conditions for it to fruit.
What you need: A mushroom grow kit, a spray bottle, and a spot out of direct sunlight. That is it.
Open the kit. Cut an X or slits in the plastic where you want mushrooms to form. Some kits come pre-cut.
Soak or mist. Some kits benefit from a brief cold water soak to trigger fruiting. Others just need regular misting.
Find a good spot. Indirect light, decent airflow. Kitchen counter, shelf, or windowsill away from direct sun.
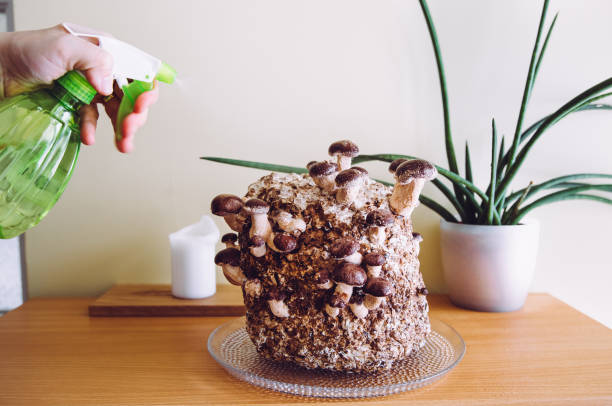
Mist twice a day. Spray the cut area lightly. You are keeping the surface moist, not soaking the block.
Watch for pins. Within three to seven days you should see tiny pinheads forming. Oyster mushrooms can double in size daily.
Harvest before caps flatten. After the first flush, rest the kit for a week and repeat for a second and sometimes third harvest.
Growing from scratch: the full process
Growing from scratch means starting with spawn, preparing substrate, inoculating, colonizing, and fruiting. More steps, but significantly cheaper per harvest and you learn what is actually happening at each stage.
Understanding mushroom spawn
Spawn is to mushroom growing what seeds are to gardening. It is mycelium cultivated on a carrier material, ready to colonize your substrate.
Choosing your substrate
Substrate is the food source your mushrooms grow on. Matching substrate to species is one of the most important decisions in the process. The wrong substrate does not just reduce yields. It can prevent colonization entirely.
Sterilization vs pasteurization
This is where beginners get confused. The distinction matters because choosing the wrong method is a common cause of contamination.
For beginners starting with oyster mushrooms on straw, pasteurization is all you need and a pressure cooker is not required. If you move to lion’s mane on supplemented sawdust, a pressure cooker becomes necessary.
Your growing environment
Mushrooms have four environmental requirements. Getting these right is the difference between a productive grow and a disappointing one.
The full grow cycle
Step 1: Pasteurize your straw
Chop straw to 5-10cm lengths. Submerge in hot water (70-80°C) for one to two hours. Drain thoroughly and cool to room temperature.
Step 2: Inoculate
Work clean. Layer straw and grain spawn in a grow bag, alternating layers. 10-20% spawn by weight. Seal with micropore tape or polyfill.
Step 3: Colonization
Warm, dark location (21-27°C). Full colonization in 10-21 days. Block turns white and firm. Do not open during colonization.
Step 4: Fruit and harvest
Cut slits in bag. Mist 2-4x daily. Ensure fresh air. Pins in 3-7 days. Harvest before caps flatten. Rest block between flushes.
Harvesting and storage
Contamination
Full guide: Mushroom Contamination: How to Prevent It
Common beginner mistakes
Why growing your own is worth it
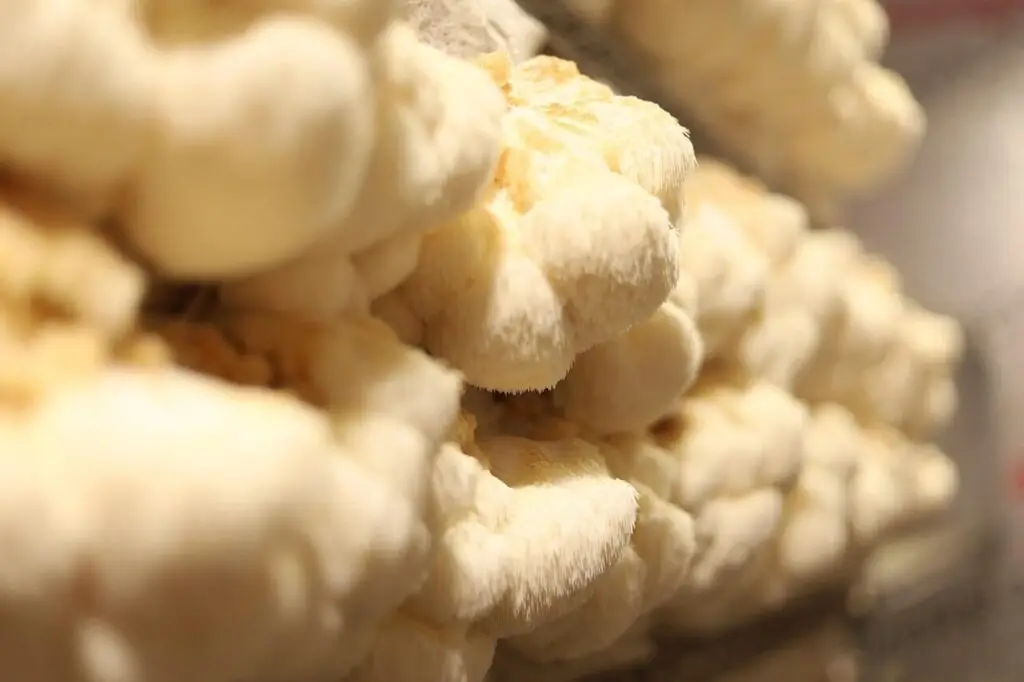
Growing your own gives you fresh mushrooms at peak bioactive compound content. If you have been buying supplements and wondering whether the compounds are real, growing and eating fresh lion’s mane is the most direct way to find out.
Fastest, cheapest, most forgiving. 3-5 weeks. No pressure cooker.
Full guide →Cognitive compound powerhouse. 4-6 weeks. Pressure cooker needed.
Full guide →Culinary depth. Block or log method. Cold water soak trigger. 6-12 weeks.
Full guide →The supplement framework helps you evaluate any product. This guide helps you skip the industry entirely.
Frequently asked questions
Oyster: 3-5 weeks. Lion’s mane: 4-6 weeks. Shiitake: 6-12 weeks. Reishi: 3-6 months.
For oyster on straw: a large pot, a grow bag, a spray bottle, and grain spawn. Pressure cooker not needed until supplemented sawdust.
Yes. A single grow bag sits on a kitchen counter.
Yes. Known species from labeled spawn. Same food hygiene as any produce.
Start again. Under $15 to restart with oyster on straw.
Start with one of these
How to Grow Lion’s Mane Mushrooms