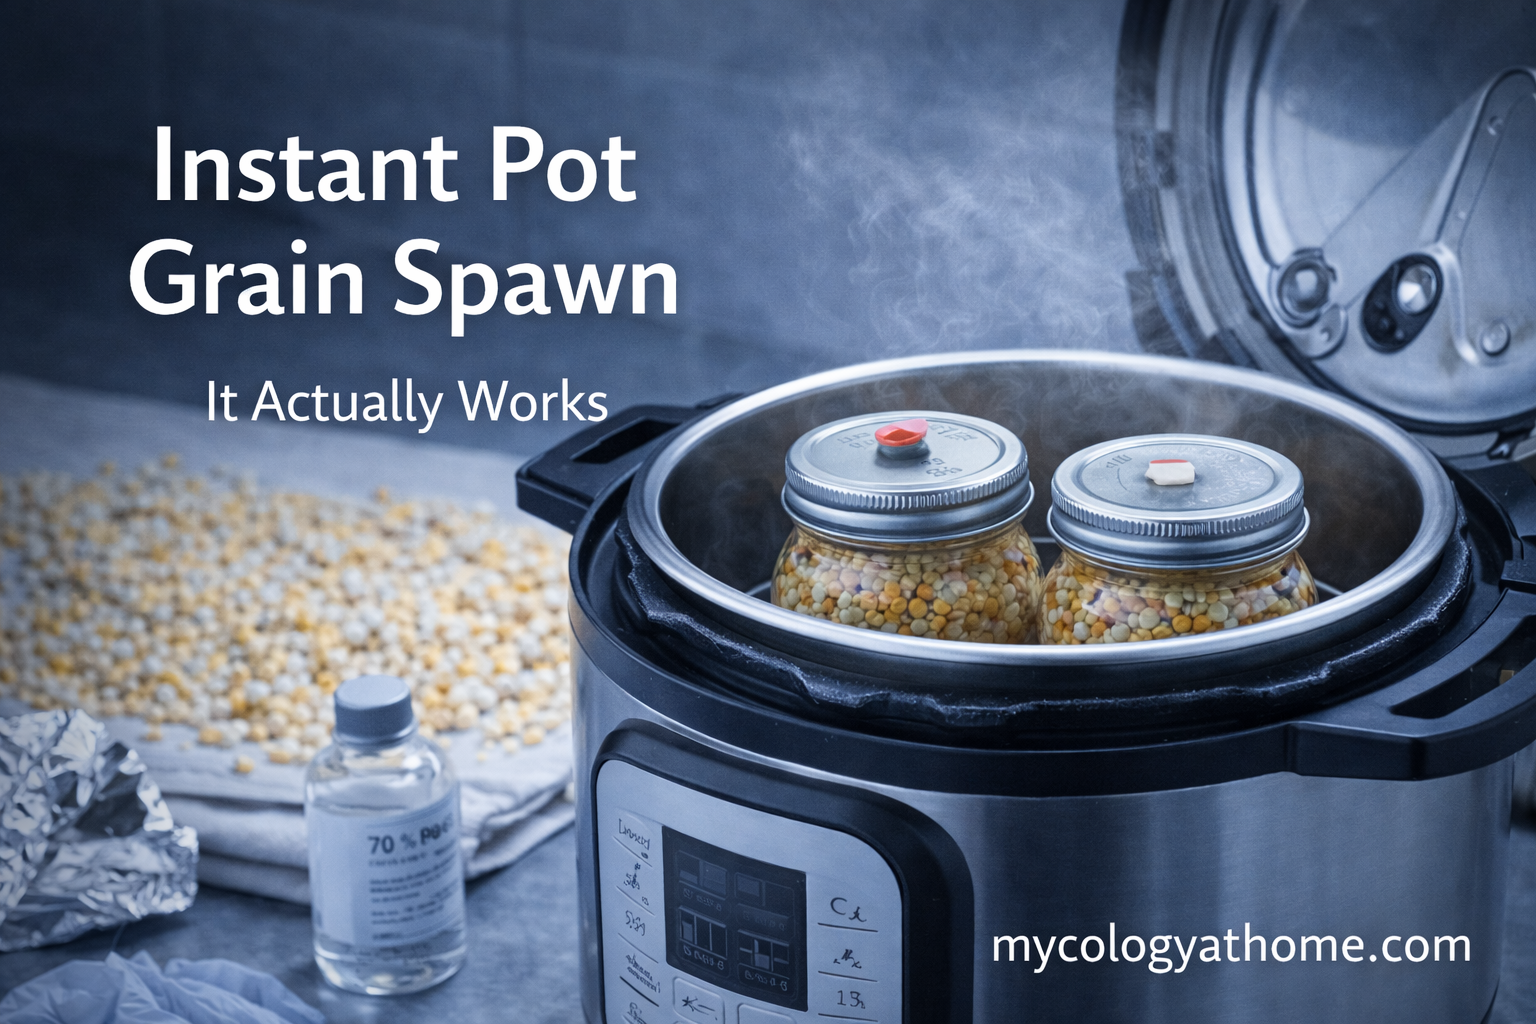
How to Sterilize Grain Spawn in an Instant Pot (It Actually Works)
Most guides will tell you not to do this. They are mostly right. An Instant Pot maxes out at about 11.6 PSI, not the 15 PSI standard for proper sterilization. But with a longer cycle and small jars, it works. I have done it multiple times.
This is not the ideal method. A full-size 23-quart pressure cooker at 15 PSI is the standard for a reason. But if you have an Instant Pot, two mason jars, and ten dollars worth of supplies, you can make grain spawn tonight. And that is enough to start your first grow from scratch.
Why this works (with caveats)
Sterilization kills competing organisms in your grain so mushroom mycelium can colonize without competition. The standard is 121°C at 15 PSI for 90 minutes to 2.5 hours.
An Instant Pot on high pressure reaches about 11.6 PSI and approximately 116°C. That is lower than ideal. You compensate with longer time. I run 120 minutes on high pressure with 16-ounce mason jars, and that has been sufficient in my experience.
This works for small batches of grain in pint jars. I would not recommend it for quart jars, supplemented substrates, or anything where the volume of material is too large for the lower pressure to fully penetrate. For those, you need a proper pressure cooker.
What you need
Everything on this list is available at a grocery store, hardware store, or online. Total cost for consumables is under $10 if you already have the Instant Pot and jars.
Step 1: Make the injection port
Your jar lid needs two modifications. The injection port lets you get a syringe needle into the jar without opening it. The breath hole lets the mycelium exchange gas during colonization.
Injection port. Punch or drill a quarter-inch hole in the center of the lid. Apply a thick blob of high-temperature gasket sealant (the red or black RTV kind from auto parts stores) on the underside, covering the hole completely. At least 3-4mm thick when cured. This creates a self-healing port: the needle pushes through, you inject, and the silicone seals behind the needle when you pull it out.
The sealant needs 24 hours to cure. Do this the day before you plan to sterilize.
Breath hole. Punch a second hole off to the side. Apply a self-adhesive micropore filter disc over this hole on the underside. This lets CO2 out and filtered air in while blocking contaminant spores. If you cannot find filter discs, two to three layers of micropore tape over the hole works.
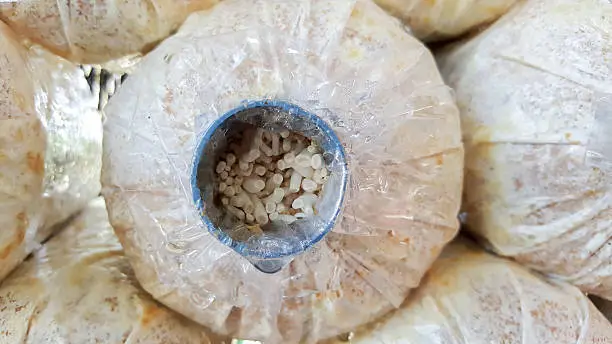
Step 2: Prepare the popcorn
Regular unflavored popcorn kernels from the grocery store. One of the cheapest spawn grains available.
Soak 12-24 hours. This hydrates the kernels and, critically, wakes up dormant bacterial endospores on the grain surface. Those endospores are heat-resistant when dormant. Soaking triggers germination, and germinated bacteria are killed by the heat. This step matters.
Simmer 15 minutes. In fresh water after draining the soak. You want them hydrated but not splitting open. If kernels are cracking, you have gone too long. They should be swollen, firm, and you can dent one with your fingernail but not easily crush it.
Dry the surface. Drain thoroughly, then spread on a clean towel for 30 minutes to an hour. The outside of the kernels should be dry to the touch. Excess surface moisture is one of the main causes of bacterial contamination in grain spawn.
The test: Pick up a handful. They should feel dry outside, firm, not sticky, not clumping. If they stick to each other or your hand comes away wet, dry them longer.
Step 3: Fill and seal
Fill each jar about two-thirds full. Leave headspace for expansion and for shaking the jar later to redistribute spawn.
Screw the modified lid on finger-tight. Not crank-it-down tight. You need a tiny amount of give for pressure equalization.
Cover the top of each jar with tin foil, wrapped down around the rim. This prevents condensation from dripping into the injection port and breath hole during the pressure cycle. The foil stays on until you are ready to inoculate.
Step 4: Sterilize
Place the trivet in your Instant Pot. Add about two cups of water. Place the jars on the trivet — they should not sit directly on the bottom.
Close the lid. Set to high pressure, 120 minutes. Valve set to sealing.
The pot takes 10-15 minutes to come to pressure, then the countdown begins. When it finishes: natural release only. Do not quick release. Let the pressure drop on its own (20-30 minutes), then leave the jars in the pot with the lid on until completely cool.
Do not take the jars out while warm. This is where most people fail. Warm grain is a contamination magnet. I leave mine in the Instant Pot overnight and take them out the next morning at room temperature.
Step 5: Inoculate
Clean your workspace with 70% isopropyl alcohol. Wash hands. Gloves if you have them. Still air — close windows, doors, fans off.
Remove the foil from the first jar. Flame your syringe needle with a lighter until it glows red, let it cool a few seconds. Wipe the injection port with an alcohol swab.
Push the needle through the gasket sealant. Inject 1-2cc of liquid culture into the grain. Try different angles to distribute it. Pull the needle out — the sealant closes behind it.
Repeat for the second jar. Flame the needle between jars.
Label each jar with the date and species. Place somewhere warm (21-27°C), dark, and undisturbed.
What to expect after
Days 1-5: Nothing visible. Normal.
Days 5-10: White spots appear where liquid culture contacted grain.
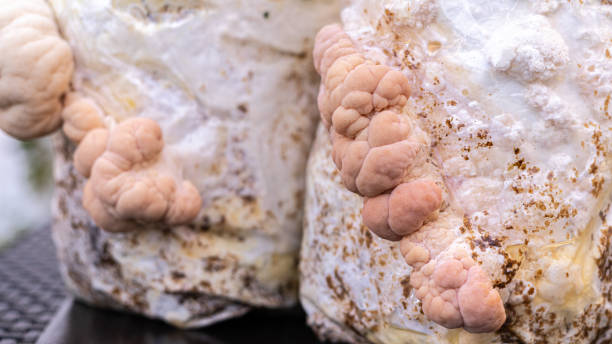
At ~30% colonization: Shake the jar. This redistributes colonized grain throughout and gives mycelium dozens of new starting points. Colonization accelerates dramatically.
Full colonization (2-4 weeks): Jar turns completely white. Ready to use as spawn for your next grow.
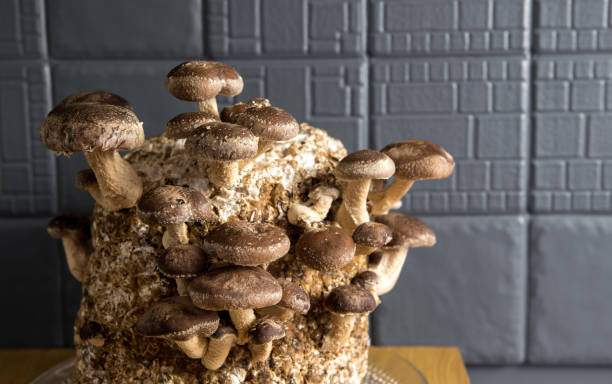
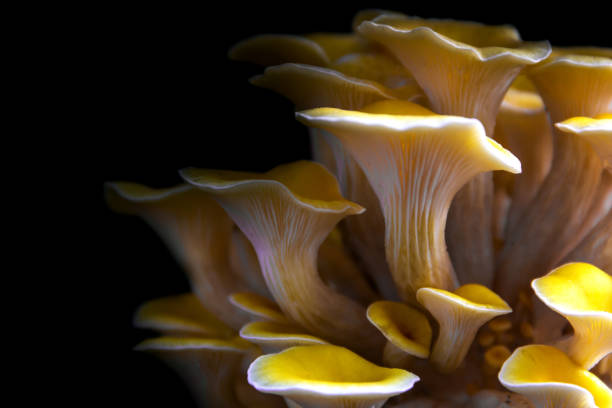
Oyster mushrooms on pasteurized straw. Lion’s mane on sterilized sawdust. Or grain-to-grain transfer to multiply your spawn.
Frequently asked questions
I would not recommend it with an Instant Pot. The lower pressure (11.6 PSI vs 15 PSI) may not fully penetrate the center of a larger volume. Pint (16oz) jars keep the volume small enough for the lower pressure to work. If you want to do quart jars, invest in a proper pressure cooker.
Popcorn is widely available and cheap. Rye berries, wheat berries, and whole oats all work and are more common in advanced guides. For a first attempt, popcorn is the simplest because you can buy it at any grocery store.
Most likely: grain was still wet on the surface when loaded, grain was warm when inoculated, or the sterilization cycle was not long enough. Check all three. Make sure you are soaking overnight (to germinate endospores), drying the surface before loading, and running the full 120 minutes on high pressure with natural release.
For small batches in pint jars with properly soaked and surface-dried grain, yes, in my experience. It is not equivalent to a proper autoclave at 15 PSI. Your contamination rate may be slightly higher than with a full-size pressure cooker. But it is dramatically better than no sterilization at all, and it gets you making grain spawn with equipment you already own.
When you are making more than two jars at a time, when you want to sterilize supplemented sawdust for lion’s mane, or when your contamination rate on grain is higher than you are comfortable with. A 23-quart Presto pressure cooker is the standard home upgrade and costs about $80.